Ever walked into a room and been captivated by lights that seem to dance, chase, and morph into a dazzling array of colors? That’s the magic of Addressable Led Strips at play. Far beyond the capabilities of standard LED lighting, these innovative strips offer a level of control and creativity that can transform any space from ordinary to extraordinary. Whether you’re a DIY enthusiast looking to personalize your home, a gamer wanting to create an immersive setup, or simply curious about the next big thing in lighting, understanding addressable LED strips is your first step into a world of vibrant possibilities. This comprehensive guide will illuminate everything you need to know, from how they work to choosing, installing, and unleashing their full potential.
What Exactly Are Addressable LED Strips?
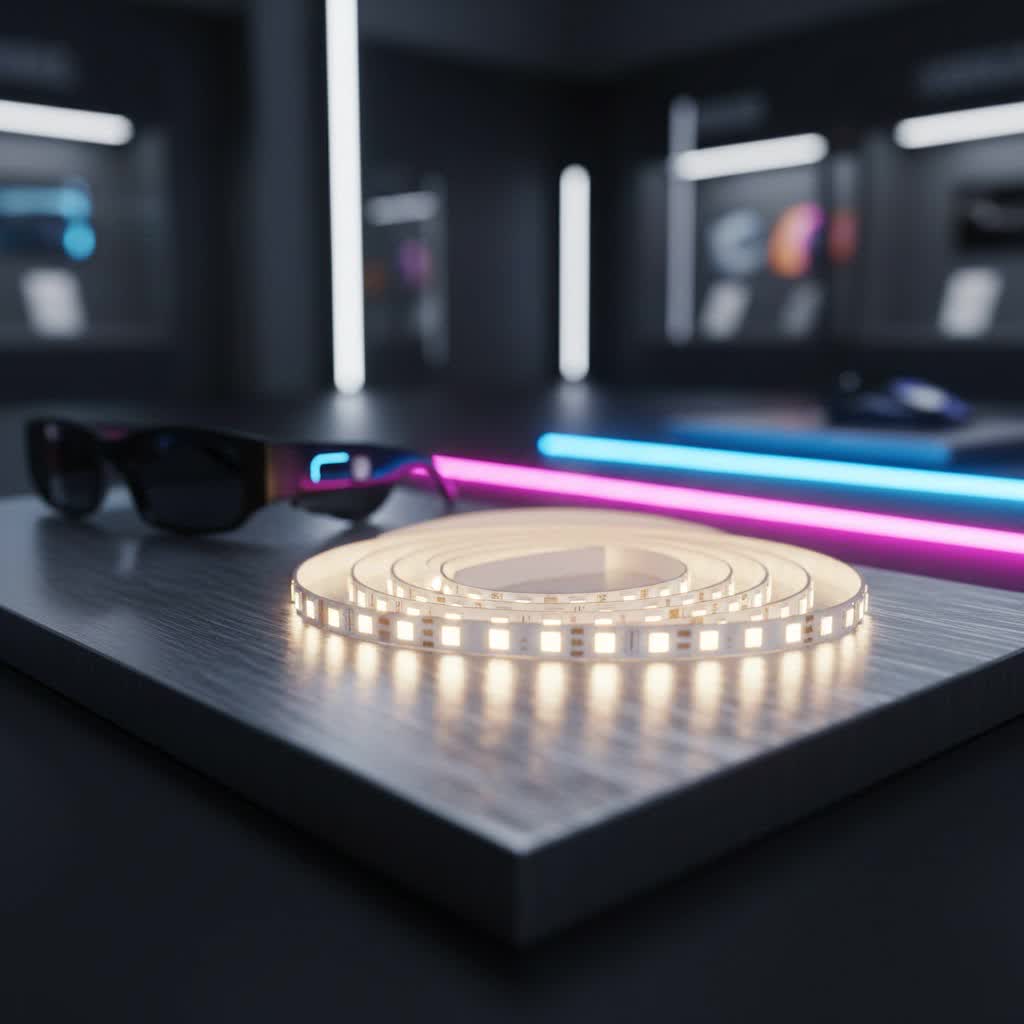
At its core, an addressable LED strip is a flexible circuit board adorned with light-emitting diodes (LEDs) that can be controlled individually. Unlike traditional LED strips where all LEDs operate as a single unit, addressable versions give you granular control over each LED or small groups of LEDs, often referred to as “pixels.” Imagine being able to set each tiny light to a different color, brightness, or even animate them in complex patterns—that’s what “addressable” means.
This individual control is made possible by integrated circuit (IC) chips embedded within or alongside each LED. These tiny microcontrollers act as the brains of each pixel, receiving digital signals from a main controller and interpreting them to display specific colors and brightness levels. The data flows in a specific direction along the strip, often indicated by arrows printed on the PCB, ensuring each LED knows precisely what to do and when. This unique architecture unlocks a universe of dynamic lighting effects, from smooth color gradients and mesmerizing chasing effects to intricate animations that can truly bring your lighting visions to life.
Addressable vs. Non-Addressable: The Key Differences You Need to Know
Choosing between addressable and non-addressable LED strips is a fundamental decision for any lighting project. While both offer illumination, their capabilities diverge significantly.
| Feature | Addressable LED Strip | Non-Addressable LED Strip |
|---|---|---|
| Control | Individual LED (pixel) control | Entire strip controlled as a single unit |
| Effects | Dynamic, multi-color patterns, chasing, animations | Static single colors, unified color changes |
| Complexity | Higher: requires programming, specific controllers | Lower: simpler wiring, basic controllers |
| Cost | Generally higher due to advanced technology | More cost-effective for basic lighting needs |
| Wiring | Typically 3+ wires (power, ground, data) | Usually 2 wires (power, ground) |
| Applications | Decorative accents, entertainment, smart homes, art | Task lighting, ambient backlighting, general illumination |
Why might you choose addressable? It all comes down to dynamism and personalization. If you dream of lights that can mimic rainfall, display a flowing rainbow, or react to music, addressable strips are your go-to. Non-addressable strips, while simpler and more budget-friendly, are best suited for straightforward applications where a consistent, single-color glow is desired, such as under-cabinet lighting or basic accentuation.
Choosing the Right Addressable LED Strip for Your Project
Navigating the world of addressable LED strips can feel a bit like learning a new language, but once you grasp the basics, selecting the perfect strip for your needs becomes much clearer.
Understanding the Types and Chipsets
The market offers a variety of addressable LED strip types, largely differentiated by their integrated circuit (IC) chipsets. Some of the most common include:
- WS2812B (and its variants like WS2811, WS2815): These are incredibly popular, known for their ease of use and wide compatibility with various controllers. WS2812B strips are “data-only,” meaning they use a single data line along with power and ground. WS2815 offers 12V operation and a backup data line for improved reliability.
- SK6812: Similar to WS2812B but often available in RGBW versions, meaning they include a dedicated white LED alongside the red, green, and blue, offering a purer white light and more color temperature options.
- APA102C (and SK9822): These strips are often referred to as “DotStars” and are known for having a separate clock line in addition to the data line. This “data + clock” architecture allows for higher refresh rates, leading to smoother animations and less flicker, making them ideal for video applications or high-speed effects.
- DMX512: For professional-grade installations and large-scale projects, DMX512 addressable strips are the standard. They offer robust control and are often used in architectural lighting, stage setups, and entertainment venues.
|
Our Picks for the Best LED Strip in 2026
As an Amazon Associate I earn from qualifying purchases.
|
||
| Num | Product | Action |
|---|---|---|
| 1 | Govee RGBIC LED Strip Lights, 32.8ft Smart LED Lights for Bedroom, Bluetooth LED Lights APP Control, DIY Multiple Colors on One Line, Color Changing LED Strip Lighting Music Sync, Home Decor |

|
| 2 | VOEWT LED Neon Lights Daylight White 6000K,9.8ft 110-120V LED Strip Lights,Flexible Outdoor Waterproof Neon Rope Lights for Bedroom,Cabinet,Kitchen,Living Room,Mirror,Halloween Decor |
|
| 3 | KSIPZE 100ft Led Strip Lights RGB Music Sync Color Changing Led Lights with Smart App Control Remote Led Lights for Bedroom Room Lighting Flexible Home Décor |
|
| 4 | Govee 100ft RGBIC LED Strip Lights, Smart LED Lights Work with Alexa and Google Assistant, LED Lights for Bedroom WiFi App Control Segmented DIY Multiple Colors, Color Changing Light, (2 x 50ft) |
|
| 5 | Govee RGBIC LED Strip Lights, Smart LED Lights for Bedroom, Bluetooth LED Lights APP Control, DIY Multiple Colors on One Line, Color Changing LED Strip Lighting Music Sync, Home Decor, 16.4ft |
|
| 6 | Tenmiro Led Lights for Bedroom 100ft (2 Rolls of 50ft) Music Sync Color Changing Strip Lights with Remote and App Control RGB Strip, for Room Home Party Decoration |
|
| 7 | Govee Smart RGB LED Strip Lights for Bedroom, 32.8ft WiFi LED Light Strip Work with Alexa Google Assistant, 16 Million Colors with App Control and Music Sync Lights for Home Decor, 2 Rolls of 16.4ft |
|
| 8 | Aclorol LED Strip Lights 5V USB 6.56FT/2M 640 LEDs Blue Indoor Rope Lights for Bedroom Not Waterproof IP20 CRI85+ Flexible LED Light for TV Backlight Living Room Party DIY Lighting |
|
| 9 | KANTUTOE LED Lights for TV, 16.4ft LED Lights for 45-75 Inch TVs, RGB TV Backlight Behind, Music Sync Bluetooth APP & Remote Control Strip Lights USB Powered for Bedroom, Gaming, Home Décor |
|
| 10 | Govee Warm White LED Strip Lights, Bright 300 LEDs, 3000K Dimmable Light Strip 16.4ft with Control Box, LED Lights for Bedroom, Kitchen Cabinets, Living Room, ETL Listed Adapter Included |
|
Voltage Matters: 5V, 12V, or 24V?
Addressable LED strips typically come in 5V, 12V, or 24V versions. Your choice impacts performance and installation:
- 5V Strips: Often feature one IC per LED (like WS2812B). While offering high pixel density, they are more susceptible to voltage drop over longer runs. This means you might need to “inject” power at multiple points along a long strip to maintain consistent brightness and color.
- 12V Strips: Often group several LEDs per IC (e.g., three LEDs per pixel). They are less prone to voltage drop and can be run in longer continuous lengths without additional power injection, simplifying wiring for some projects. WS2815 is a common 12V addressable type.
- 24V Strips: Even more efficient at handling longer runs and voltage drop, making them suitable for very extended installations.
Brightness, Color Options, and Pixel Density
Consider the brightness (lumens per meter), color capabilities (RGB for basic colors, RGBW for added pure white), and pixel density (LEDs per meter). Higher pixel density means smoother animations and a more continuous light line but also consumes more power and might be more expensive.
For instance, if you’re creating subtle accent lighting, a lower pixel density might suffice. For a dynamic gaming desk or an animated sign, a higher density (60 LEDs/meter or more) will offer superior visual fidelity.
Step-by-Step Installation: Bringing Your Addressable LED Strips to Life
Installing addressable LED strips, while more involved than traditional ones, is a rewarding DIY project. With the right preparation and tools, you can achieve stunning results.
Essential Tools and Materials Checklist
Before you begin, gather these essentials:
- Addressable LED Strip: Your chosen type and length.
- Compatible Controller: SPI, DMX, WiFi, or Bluetooth controller (e.g., ESP32 with WLED).
- Power Supply: Matched to your strip’s voltage (e.g., 5V, 12V) and sufficient amperage.
- Wiring: Appropriate gauge wires for power, ground, and data.
- Connectors/Soldering Iron: JST connectors, solder, flux, heat shrink tubing (if soldering).
- Wire Strippers: For preparing wire ends.
- Multimeter: For checking voltage and continuity.
- Mounting Solution: Adhesive backing (often built-in), mounting clips, or aluminum profiles.
- Scissors: For cutting the LED strip at designated cut marks.
- Cleaning Supplies: Isopropyl alcohol and a cloth to clean surfaces.
Planning Your Layout and Power
- Measure and Mark: Carefully measure the area where you intend to install the strip.
- Cut the Strip: Addressable LED strips are typically cuttable at specific points, usually indicated by copper pads and a scissor icon. Always cut precisely on these marks to avoid damaging the circuit.
- Power Supply Calculation: Determine the power requirements. Each LED consumes a certain amount of current. Multiply the number of LEDs by the current per LED (check the strip’s specifications) to get the total amperage needed. Your power supply should safely exceed this value.
- Power Injection: For longer 5V strips, or any strip exceeding 5 meters, you will likely need to inject power at both ends or at intermediate points to prevent voltage drop, which can cause colors to fade or shift towards the end of the strip. This involves running additional power wires directly from the power supply to various points on the strip.
Making the Connections
This is where the “addressable” part comes alive.
-
Connect to the Controller:
- Power (VCC): Connect the positive (+) wire from your power supply to the VCC terminal on the LED strip.
- Ground (GND): Connect the negative (-) wire from your power supply to the GND terminal on both the LED strip and your controller. It’s crucial for all components (strip, controller, power supply) to share a common ground.
- Data (DIN/DO): Connect the data output from your controller to the data input (DIN) of the LED strip. Pay close attention to the arrows on the strip, which indicate the data flow direction. The controller’s data output must connect to the strip’s data input side.
- For “data + clock” strips (like APA102C), you’ll also connect a separate clock line.
Expert Insight from Anya Petrova, LED Lighting Engineer at NamsP:
“Always double-check your polarity and data direction! Reversing power or connecting data incorrectly is a common rookie mistake that can unfortunately ‘brick’ your strip. A quick glance at the arrows on the strip and careful wire matching will save you a lot of headache.” -
Mounting the Strip:
- Clean the installation surface thoroughly with isopropyl alcohol to ensure the adhesive backing (if present) sticks firmly.
- Peel off the adhesive backing a few inches at a time, pressing the strip firmly onto the surface as you go.
- For better heat dissipation and a more professional finish, consider using aluminum LED profiles. These also diffuse the light, making it look smoother.
Programming and Testing Your Lights
Once wired, the fun begins with programming. Most addressable LED strips require a microcontroller (like an Arduino, ESP8266, or ESP32) loaded with specific firmware (such as WLED, FastLED, or Adafruit NeoPixel library).
- Install Firmware: Follow the instructions for your chosen controller and firmware to upload the necessary code. WLED, for example, is very popular for its user-friendly web interface and wide range of effects.
- Configure Settings: Access your controller’s interface (often via a web browser or mobile app) to specify the type of LED strip, the number of LEDs, and any color correction settings.
- Test Effects: Experiment with pre-programmed effects, adjust colors, and create custom animations. This iterative process allows you to fine-tune your lighting design.
Creative Applications: Ideas to Transform Your Space with Addressable LEDs
The true power of addressable LED strips lies in their versatility. Here are just a few ideas to spark your imagination:
- Gaming & Entertainment Setups: Create reactive backlighting for your monitor or TV that syncs with on-screen action, or design dynamic lighting behind shelves to highlight collectibles.
- Architectural Accents: Line coves, under-cabinet spaces, stair risers, or ceiling borders to create subtle, flowing ambient light that can change with your mood.
- Art Installations: Craft stunning light sculptures, animated signs, or interactive displays where each pixel contributes to a larger visual narrative.
- Smart Home Integration: Connect your addressable LEDs to smart home platforms (like Home Assistant, Google Home, or Amazon Alexa) for voice control, scheduling, and integration with other smart devices (e.g., weather notifications, alarm clocks).
- DIY Projects: From custom light-up signs for parties to interactive decor that responds to sound, the possibilities for unique DIY creations are virtually endless.
- Holiday Decorations: Design custom Christmas light animations or spooky Halloween effects that go beyond traditional static displays.
Maintaining Your Addressable LED Strips for Lasting Brilliance
To ensure your addressable LED strips continue to dazzle for years, a few maintenance tips are crucial:
- Proper Power Injection: As mentioned, consistently providing adequate power along the strip prevents strain on individual LEDs and helps maintain uniform brightness and color, extending the lifespan.
- Heat Management: LEDs generate heat, and excessive heat can shorten their lifespan. Mounting your strips in aluminum profiles not only gives a polished look but also acts as a heatsink, dissipating warmth effectively.
- Avoid Overbending: While flexible, avoid sharp bends or twists that can damage the internal circuitry or solder joints on the strip.
- Environmental Protection: For outdoor or damp environments, always use IP-rated (Ingress Protection) waterproof strips and ensure all connections are sealed against moisture.
- Troubleshooting: If you experience flickering, dimming at the end of the strip, or inconsistent colors, check your power supply, power injection points, and data line connections. Voltage drop is a common culprit for issues at the far end of a strip.
Frequently Asked Questions About Addressable LED Strips
Can I cut addressable LED strips?
Yes, addressable LED strips can be cut. Look for designated cut marks, usually copper pads with a scissor icon, typically found every 1-3 LEDs. Cutting anywhere else can damage the strip and render parts of it unusable.
Do addressable LED strips need a special controller?
Absolutely. Unlike non-addressable strips, addressable LEDs require a digital controller (e.g., SPI, DMX, or Wi-Fi/Bluetooth enabled microcontrollers) to send individual data signals to each LED or pixel. Standard RGB controllers will not work.
What voltage should I use for my addressable LED strip?
Addressable LED strips come in 5V, 12V, and 24V options. Your choice depends on the strip itself. Always match your power supply to the strip’s specified voltage. 12V and 24V strips are generally better for longer runs due to less voltage drop, while 5V strips often allow for higher pixel density.
How many LEDs can one controller handle?
The number of LEDs a controller can handle depends on its processing power and memory, as well as the specific LED chipset and animation complexity. Basic controllers might handle a few hundred LEDs, while advanced controllers and microcontrollers like the ESP32 with WLED can manage thousands, often requiring careful consideration of refresh rates and data bandwidth.
What are the common issues with addressable LED strips?
Common issues include color inconsistency or dimming at the end of a long strip (due to voltage drop), flickering (often from insufficient power, signal interference, or a low-quality controller), and individual LEDs failing (known as a “dead pixel,” which can sometimes be bypassed if the strip has a breakpoint resume feature). Proper planning, power injection, and quality components can mitigate most problems.
The Future of Lighting is Here: Embrace Addressable LEDs
Addressable LED strips are not just a lighting trend; they represent a fundamental shift in how we interact with and perceive light. They transform illumination from a static utility into a dynamic, expressive, and interactive medium. By understanding the principles behind these remarkable strips, from their individual pixel control to the nuances of installation and programming, you’re empowered to unleash your creativity and design lighting experiences that truly resonate. So, step into the exciting world of addressable LED strips and illuminate your world in ways you never thought possible!