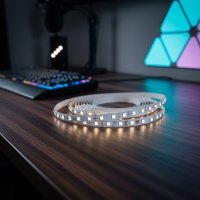
Have you ever walked into a room and instantly felt a shift in mood, just from the lighting? That’s the magic of RGB LED strip lights. As someone who’s spent over a decade designing, installing, and troubleshooting lighting solutions, I can tell you these flexible, color-changing wonders are revolutionizing how we think about home illumination. They’re not just about brightness; they’re about creating an atmosphere, expressing your style, and bringing dynamic flair to any space. Here at NamsP, we’re all about empowering you to tackle your lighting projects with confidence, and RGB LED strips are a fantastic place to start your creative journey.
What Are RGB LED Strip Lights and Why Do You Need Them?
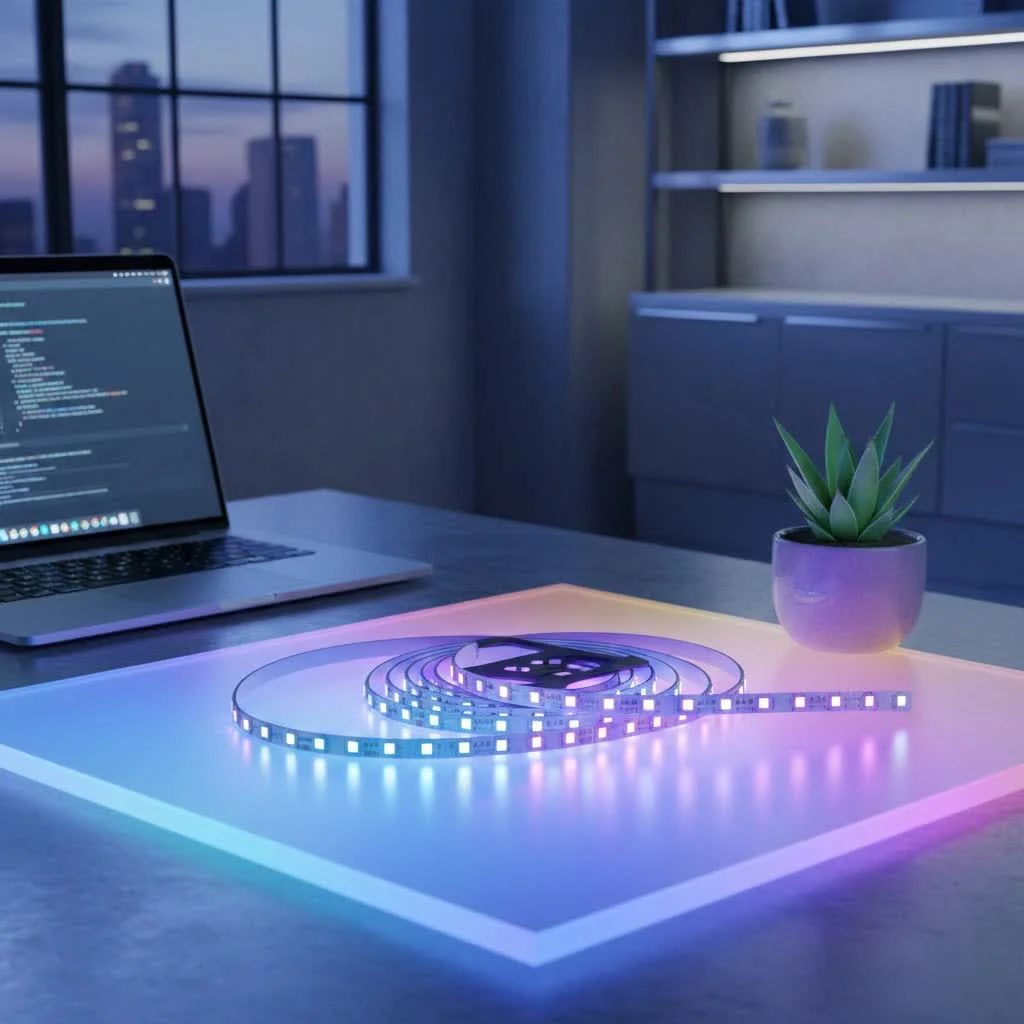
At their core, RGB LED strip lights are flexible circuit boards embedded with tiny light-emitting diodes (LEDs) that can produce a vast spectrum of colors. The “RGB” stands for Red, Green, and Blue – the three primary colors of light. By mixing these three colors in varying intensities, a sophisticated controller can generate millions of different hues, from vibrant purples to soothing pastels. Think of it like a digital artist’s palette, but for your walls, ceilings, or furniture.
So, why should you consider them? Well, the benefits are clear. First, their versatility is unmatched. You can cut them to size, bend them around corners, and stick them almost anywhere. Second, the customization they offer is incredible; you’re not stuck with a single white light but can adapt your lighting to any mood, season, or occasion. Third, LEDs are inherently energy-efficient, meaning you get brilliant light without a hefty electricity bill. And finally, they’re perfect for crafting that unique ambiance that truly makes a house feel like a home.
Decoding Your Options: Choosing the Perfect RGB LED Strip Lights
Selecting the right RGB LED strip lights might seem daunting with so many choices, but it boils down to understanding a few key specifications and your specific needs. Let’s break it down to help you make an informed decision.
Understanding the Specs: Brightness, Voltage, and Protection
When you’re shopping around, you’ll encounter some technical jargon. Don’t worry; it’s simpler than it sounds.
- Brightness and LED Density: This refers to how many LED chips are packed per meter or foot of the strip. A higher density (e.g., 60 LEDs/meter vs. 30 LEDs/meter) generally means a brighter, more uniform light without noticeable “hot spots” between individual LEDs. For accent lighting, lower densities might be fine, but for task lighting or a truly continuous glow, higher density is key.
- Voltage (12V vs. 24V) and Power Requirements: Most RGB LED strips operate at either 12 volts or 24 volts DC. While 12V strips are very common and suitable for shorter runs, 24V strips are often preferred for longer installations because they experience less voltage drop, meaning more consistent brightness along the entire length. Always ensure your power supply matches the strip’s voltage and provides sufficient wattage for the total length of your strips.
- IP Rating for Indoor vs. Outdoor Use: The Ingress Protection (IP) rating tells you how resistant the strip is to dust and water.
- IP20/IP30: Non-waterproof, perfect for dry indoor areas like bedrooms, living rooms, or behind TVs.
- IP65: Splash-proof, suitable for kitchens (under cabinets), bathrooms (away from direct water spray), or covered outdoor areas.
- IP67/IP68: Waterproof, designed for outdoor use where they might be exposed to rain, or even submerged (check specific rating for submersion depth and duration).
Control Methods: Taking Command of Your Colors
|
Our Picks for the Best LED Strip in 2026
As an Amazon Associate I earn from qualifying purchases.
|
||
| Num | Product | Action |
|---|---|---|
| 1 | KANTUTOE LED Lights for TV, 16.4ft LED Lights for 45-75 Inch TVs, RGB TV Backlight Behind, Music Sync Bluetooth APP & Remote Control Strip Lights USB Powered for Bedroom, Gaming, Home Décor |

|
| 2 | Govee Warm White LED Strip Lights, Bright 300 LEDs, 3000K Dimmable Light Strip 16.4ft with Control Box, LED Lights for Bedroom, Kitchen Cabinets, Living Room, ETL Listed Adapter Included |
|
| 3 | KSIPZE 100ft Led Strip Lights RGB Music Sync Color Changing Led Lights with Smart App Control Remote Led Lights for Bedroom Room Lighting Flexible Home Décor |
|
| 4 | Tenmiro Led Lights for Bedroom 100ft (2 Rolls of 50ft) Music Sync Color Changing Strip Lights with Remote and App Control RGB Strip, for Room Home Party Decoration |
|
| 5 | Govee Smart RGB LED Strip Lights for Bedroom, 32.8ft WiFi LED Light Strip Work with Alexa Google Assistant, 16 Million Colors with App Control and Music Sync Lights for Home Decor, 2 Rolls of 16.4ft |
|
| 6 | Govee RGBIC LED Strip Lights, Smart LED Lights for Bedroom, Bluetooth LED Lights APP Control, DIY Multiple Colors on One Line, Color Changing LED Strip Lighting Music Sync, Home Decor, 16.4ft |
|
| 7 | Aclorol LED Strip Lights 5V USB 6.56FT/2M 640 LEDs Blue Indoor Rope Lights for Bedroom Not Waterproof IP20 CRI85+ Flexible LED Light for TV Backlight Living Room Party DIY Lighting |
|
| 8 | Govee 100ft RGBIC LED Strip Lights, Smart LED Lights Work with Alexa and Google Assistant, LED Lights for Bedroom WiFi App Control Segmented DIY Multiple Colors, Color Changing Light, (2 x 50ft) |
|
| 9 | Govee RGBIC LED Strip Lights, 32.8ft Smart LED Lights for Bedroom, Bluetooth LED Lights APP Control, DIY Multiple Colors on One Line, Color Changing LED Strip Lighting Music Sync, Home Decor |
|
| 10 | VOEWT LED Neon Lights Daylight White 6000K,9.8ft 110-120V LED Strip Lights,Flexible Outdoor Waterproof Neon Rope Lights for Bedroom,Cabinet,Kitchen,Living Room,Mirror,Halloween Decor |
|
How you control your RGB LED strip lights significantly impacts your user experience. Modern strips offer a variety of options:
- Remote Controls (IR/RF): These are the most basic and common. Infrared (IR) remotes require a direct line of sight to the receiver, while Radio Frequency (RF) remotes work from further distances and through obstacles.
- Smartphone Apps and Wi-Fi/Bluetooth: This is where the real fun begins. Many strips now come with dedicated apps that connect via Bluetooth (for close-range control) or Wi-Fi (for control from anywhere). Apps often offer advanced features like color wheels, custom scene creation, music synchronization, and scheduling.
- Smart Home Integration: For the ultimate convenience, look for strips compatible with smart home ecosystems like Amazon Alexa, Google Assistant, or Apple HomeKit. This allows for voice control and integration with other smart devices for seamless automation.
Kit vs. Components: Building Your Perfect Setup
You can either buy a complete RGB LED strip kit that includes everything you need (strip, controller, power supply) or purchase individual components. Kits are fantastic for beginners, offering a plug-and-play experience. However, if you have specific requirements, want longer runs, or prefer a particular type of controller, buying separate components gives you more flexibility and often results in a more robust, customized system.
From Box to Brilliance: Your Step-by-Step RGB LED Strip Installation Guide
Installing RGB LED strip lights is a gratifying DIY project that most homeowners can tackle. Here’s a straightforward guide to get you started:
- Plan Your Layout: Before you even unroll the strip, take measurements and visualize where you want the light to fall. Use a pencil to lightly mark your desired path. This helps avoid mistakes and ensures an even, professional look.
- Gather Your Tools: Having everything on hand makes the process smooth.
- Measuring tape
- Sharp scissors (specifically for cutting LED strips)
- LED strip connectors (if not soldering)
- Appropriate power supply
- RGB controller
- Mounting clips (optional, but recommended for long or heavy strips)
- Rubbing alcohol and a clean cloth
- Patience!
- Prepare the Surface: This is a crucial step often overlooked. The surface where the strip will be adhered must be clean, dry, and smooth. Use rubbing alcohol to wipe down the area thoroughly, removing any dust, grease, or debris. Let it dry completely. A clean surface ensures the adhesive backing sticks firmly and lasts.
- Cut and Connect: Look for the copper pads marked with a scissor icon on your LED strip – these are your designated cutting points. Always cut precisely on these lines. If you need to connect sections or turn corners, use solderless connectors. Simply open the connector, align the strip’s copper pads with the connector’s pins, and snap it shut. For a more robust connection, especially in areas with movement, soldering is often preferred.
- Mounting the Strips: Most RGB LED strips come with pre-applied 3M adhesive backing. Carefully peel off a small section of the protective film, press the strip firmly onto your prepared surface, and slowly peel more film as you go, continuously pressing down. For longer runs or if the adhesive seems weak, supplementary mounting clips can provide extra security.
- Connect Power and Controller: Connect the LED strip to your RGB controller, ensuring the arrows or positive/negative markings align correctly. Then, connect the controller to your power supply. Double-check all connections before plugging the power supply into a wall outlet.
- Test and Enjoy: Plug in your power supply, and your RGB LED strip lights should glow! Use your remote or app to test all the colors, modes, and brightness levels. Make any final adjustments, and then sit back and enjoy your newly illuminated space.
Keeping the Glow Alive: Maintenance and Longevity Tips for Your RGB LED Strips
To maximize the life and performance of your RGB LED strip lights, a little care goes a long way.
- Regular Cleaning: Dust and grime can accumulate on the LEDs, slightly dimming their output. Gently wipe the strips with a soft, dry cloth. For stubborn spots, a slightly damp cloth with mild soap can be used, but ensure the strip is unplugged and completely dry before powering it on again, especially for non-waterproof versions.
- Checking Connections: Over time, connections can loosen. Periodically inspect all connectors and ensure they are secure. For soldered connections, look for any signs of corrosion or fatigue.
- Avoiding Extreme Temperatures: While LEDs are robust, extreme heat or cold can degrade their performance and lifespan. Avoid installing them in areas with direct, intense sunlight or where temperatures fluctuate wildly.
- Proper Power Supply Usage: Always use the correct wattage power supply for your LED strip length. An undersized power supply will cause dimming, flickering, or premature failure, while an oversized one can simply waste energy. Never overload your power supply.
“In my ten years working with LED strips, I’ve seen RGB technology evolve dramatically. The ability to instantly change a room’s entire mood with just a tap on your phone is truly transformative,” says Arthur Chen, a veteran lighting designer and expert at NamsP. “It’s not just about illumination; it’s about creating an experience. And with proper care, that experience can last for years.”
Unleash Your Creativity: Inspiring Ideas for RGB LED Strip Lighting
The true beauty of RGB LED strip lights lies in their ability to transform spaces and moods. Here are some of my favorite creative applications:
- Kitchen Ambiance: Install them under kitchen cabinets for functional task lighting that doubles as stunning accent lighting. Or, add them to toe-kicks for a modern, floating cabinet effect.
- Bedroom Oasis: Backlight your headboard for a luxurious, diffused glow, or install them in coves along the ceiling for a soft, ambient light that can change to match your mood before bed.
- Gaming & Entertainment Zones: Elevate your gaming experience by backlighting your monitor, desk, or PC case. Sync the colors to your games or music for an immersive environment. For TV backlighting, RGB strips reduce eye strain and make your screen appear larger.
- Outdoor Flair: With appropriate IP-rated strips, illuminate your patio, deck railings, or garden pathways. Create a magical outdoor dining area or a vibrant poolside atmosphere for evening gatherings.
- Holiday & Event Decor: Forget tangled fairy lights! RGB LED strips offer instant holiday cheer. Change colors for Christmas, Halloween, national holidays, or birthday parties with ease, making every celebration special.
Frequently Asked Questions About RGB LED Strip Lights
Q1: What does “RGB” stand for in LED strips?
A1: “RGB” stands for Red, Green, and Blue. These are the three primary colors of light that, when mixed in different intensities, can create a vast spectrum of millions of colors on your LED strip.
Q2: Can I cut RGB LED strip lights to any length?
A2: No, you cannot cut RGB LED strip lights anywhere. They have specific cutting points, usually marked by copper pads and a scissor icon, which are spaced at regular intervals (e.g., every 3 or 6 LEDs). Cutting elsewhere will damage the circuit and make that section unusable.
Q3: Do RGB LED strips use a lot of electricity?
A3: Generally, RGB LED strip lights are very energy-efficient compared to traditional incandescent lighting. The actual electricity consumption depends on the length of the strip, the density of the LEDs, and their brightness setting, but they consume significantly less power than older lighting technologies.
Q4: How do I control the colors and modes of my RGB LED strips?
A4: Most RGB LED strips come with a controller that can be operated via a physical remote control (IR or RF) or a smartphone app (connected via Bluetooth or Wi-Fi). Many smart strips can also integrate with voice assistants like Alexa or Google Assistant.
Q5: Are RGB LED strip lights safe for outdoor use?
A5: Only RGB LED strip lights with an appropriate IP (Ingress Protection) rating are safe for outdoor use. Look for ratings like IP65 (splash-proof) for covered outdoor areas or IP67/IP68 (waterproof) for areas exposed to direct rain or even submersion, ensuring they can withstand environmental elements.
Q6: My RGB LED strip lights are not working; what should I check?
A6: First, check if the power supply is properly plugged in and functioning. Then, ensure all connections between the strip, controller, and power supply are secure and correctly aligned (e.g., matching arrows or positive/negative terminals). Lastly, test if the remote or app controller has fresh batteries or is properly paired.
Q7: What’s the difference between 12V and 24V RGB LED strips?
A7: The main difference between 12V and 24V RGB LED strips lies in their voltage requirements and performance over longer runs. 24V strips are generally more efficient for longer installations (typically over 5 meters/16 feet) as they experience less voltage drop, resulting in more consistent brightness along the entire length compared to 12V strips.
Unleash the Full Spectrum of Possibilities
RGB LED strip lights offer an unparalleled opportunity to transform your living spaces, express your creativity, and enhance your daily life with dynamic, customizable illumination. From practical under-cabinet lighting to immersive entertainment setups and vibrant outdoor accents, their versatility knows no bounds. By understanding the basics of selection, following simple installation steps, and giving them a little care, you can confidently integrate these incredible lights into your home. Don’t just light a room; give it personality, set the perfect mood, and truly make it your own with the boundless colors of RGB LED strip lights. Dive in, experiment, and share your brilliant creations – the world is your canvas!
Get our weekly buyer guide
Practical specs, not advice. Unsubscribe anytime.